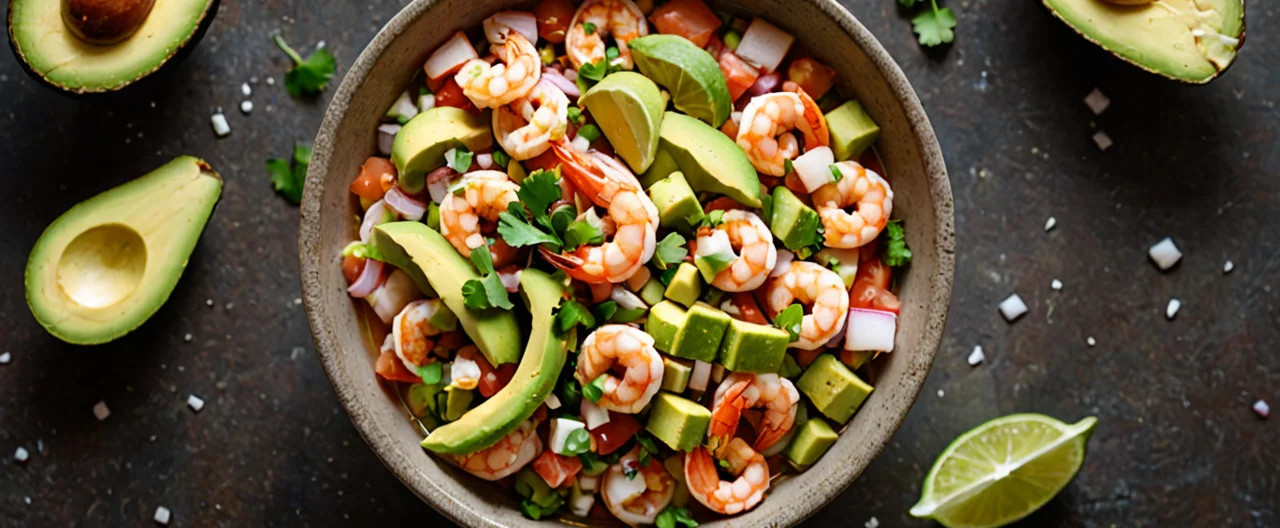
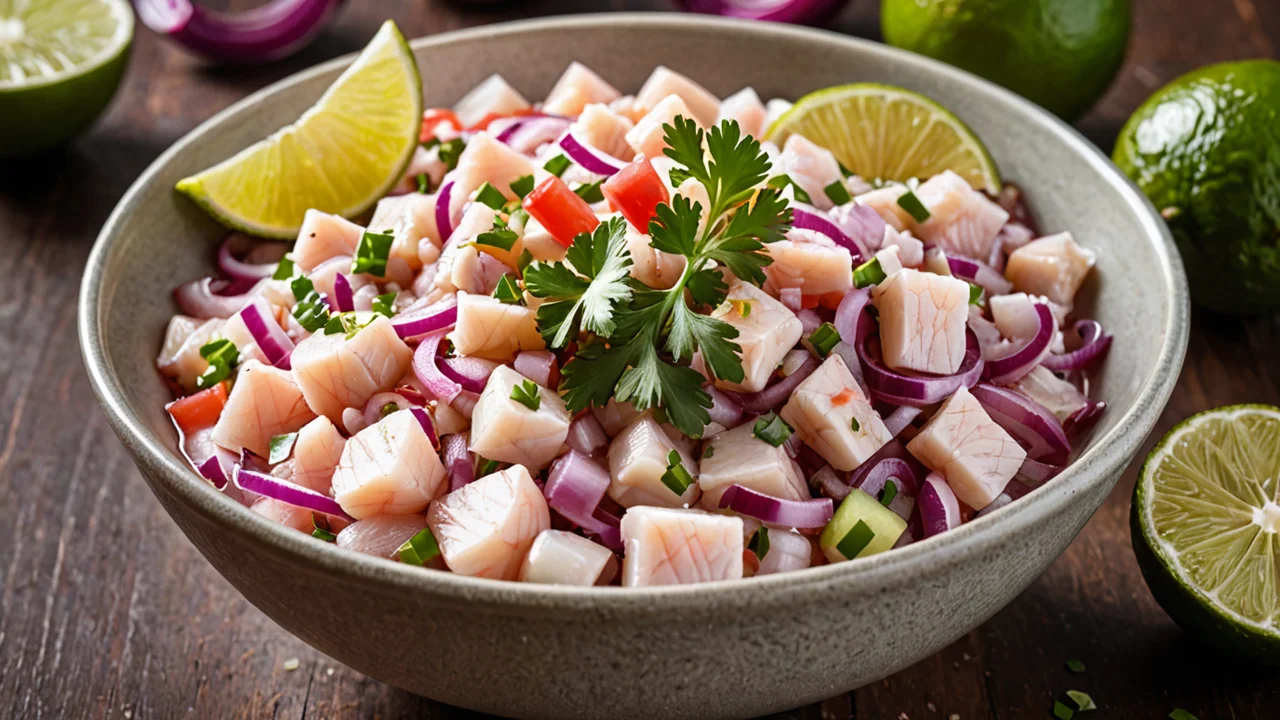
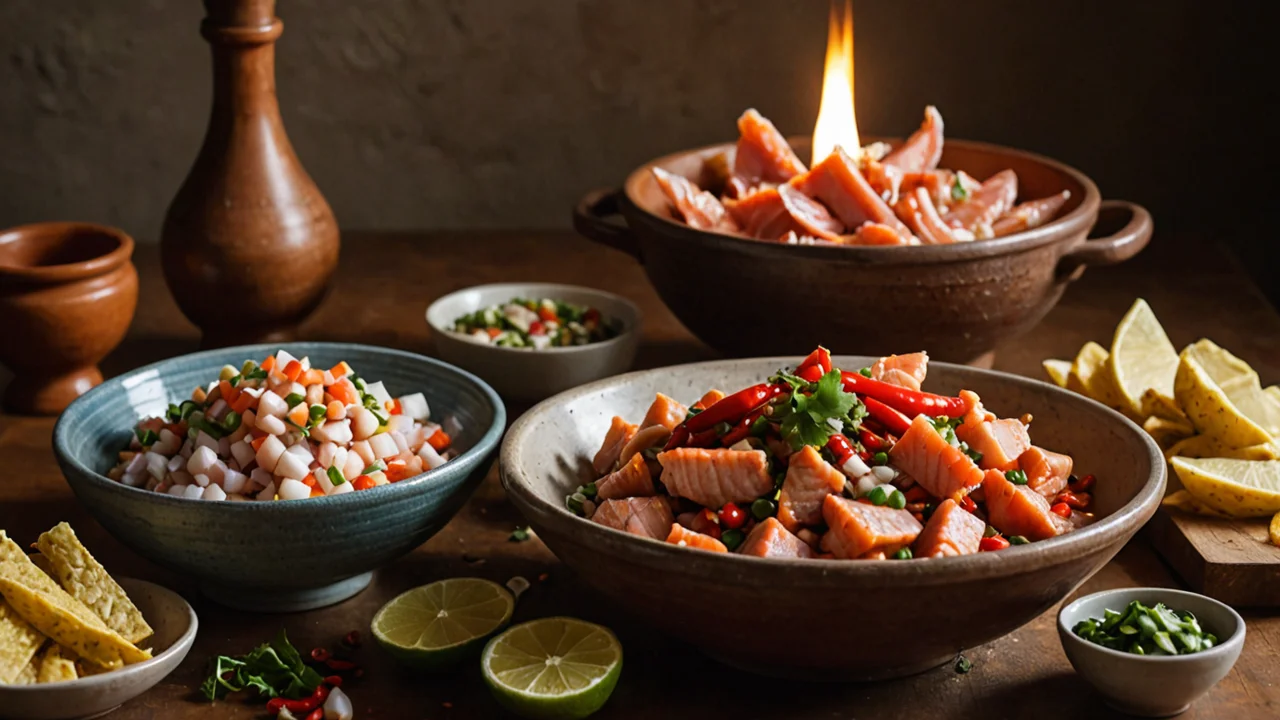
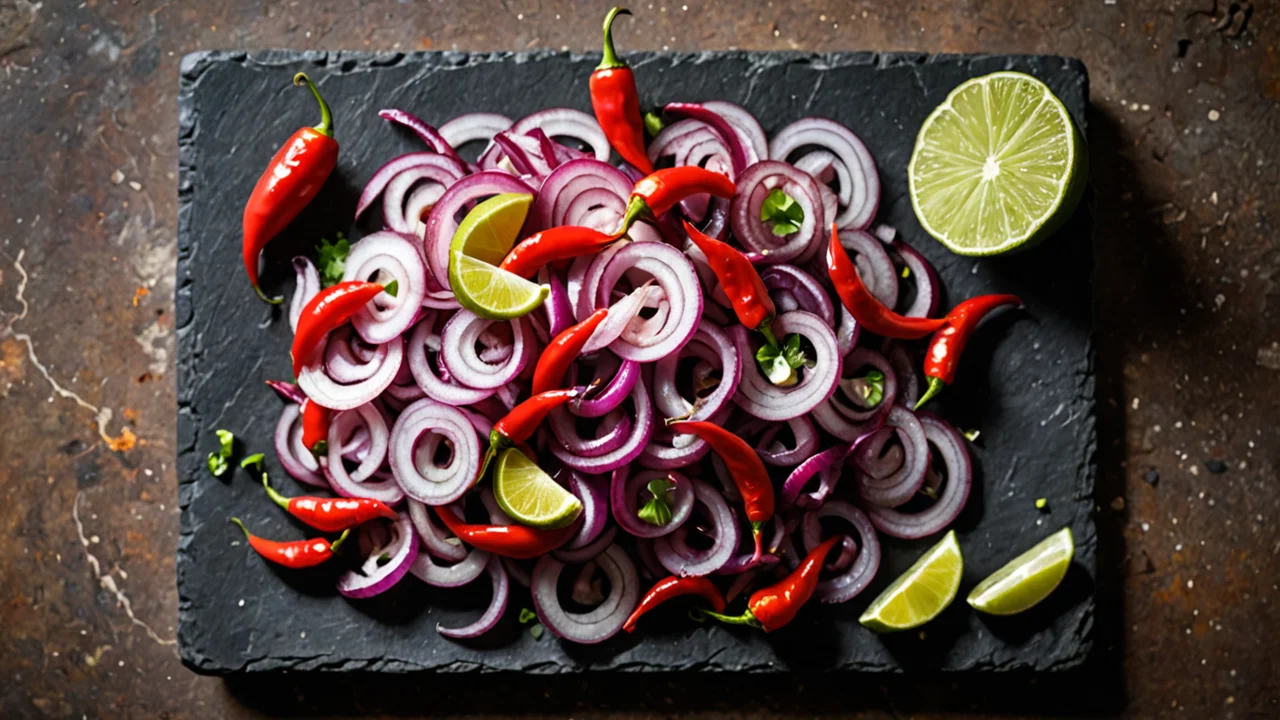
Core recipes in Latin American cooking are a small set of doughs, sauces, and techniques that recur across countries under different names: nixtamalized corn dough for tamales, tortillas, and arepas; a chile-and-tomato base that becomes salsa, adobo, or mole; a slow-braised filling; a cured-fish method like ceviche; and a pot of beans that seasons everything it touches. Learn the ratios and the doneness cues for those, and most of the regional repertoire stops being a list of separate dishes and starts being variations on things you already know how to do.
Masa is the foundation, and it is a dough, not a batter
Masa is ground nixtamalized corn, and masa harina is the dried flour made from that same nixtamalized corn, rehydrated with water or broth. Everything about working with it follows from that: the corn has already been cooked with an alkali, so what you are doing at home is rehydration and fat incorporation, not cooking a raw grain from scratch. The texture you are aiming for in tamales is a soft, spreadable paste that holds a ridge when you drag a finger through it and doesn't stick to the back of a spoon like paste.
The variable that trips people up is water. Masa harina absorbs inconsistently depending on how long the bag has been open and how humid your kitchen is, so fixed cup measurements are a starting point rather than a rule. Add liquid in increments and stop when the dough feels like soft butter. Fat is the other lever: lard or a neutral oil worked in until the masa lightens slightly and feels supple gives you a dough that steams into something tender instead of dense. Under-fat your masa and the tamales come out heavy and chalky; overwork it and they turn gluey.
The cost of getting this right is time and patience, not money — masa harina is cheap and keeps for months in the freezer. The cost of getting it wrong is a batch of tamales that takes an hour to assemble and steams into something nobody wants to finish. If you are new to it, make a small test batch of plain masa, steam it in a single husk, and eat it before you commit your filling.
Arepas run on a different flour — pre-cooked corn flour rather than nixtamalized masa harina — and a different logic. An arepa is a thick round cake, shaped and cooked on a griddle or baked, then split and filled. The dough is firmer and more handleable than tamale masa because it has to hold its shape on a hot surface, and the trade-off is that it's less forgiving of wet fillings. Don't try to use tamale masa for arepas or vice versa; they behave differently under heat and you'll get a cake that either falls apart or refuses to brown.
Filling and steaming decide whether tamales work
Tamales are masa spread on a corn husk or banana leaf, filled, wrapped, and steamed until the masa is firm. The steaming is where most home cooks go wrong, and the failure mode is easy to spot: the wrapper comes off and takes half the masa with it, or the interior is still raw-tasting and dense in the middle. Firmness at the center is the real test, not time on the clock, because a pot crowded with tamales takes longer than a loose one.
Filling safety is the part people skip. For tamales with a meat or poultry filling, the safe minimum internal temperature is 165 °F (73.9 °C), regardless of which meat or poultry you used. If you are cooking the filling components separately first — and you usually should, since raw filling steams unevenly — the individual targets differ: whole cuts of meat need 145 °F (62.8 °C), ground meat needs 160 °F (71.1 °C), and poultry, whole or ground, needs 165 °F (73.9 °C). Check the filling with an instant-read thermometer before it goes into the masa, and check a tamale from the center of the pot at the end.
Wrapping matters for more than tidiness. A corn husk needs to be soaked until pliable so it doesn't crack along the fold and let steam escape; a banana leaf needs a quick pass over a flame or a dip in hot water to soften before it will fold without splitting. Spread the masa thin enough that you can see the filling's outline through it — a thick, uneven layer is the most common cause of undercooked centers. Tie or fold securely, stand the tamales upright in the steamer with the open end up, and keep the water below the rack so you're steaming, not boiling.
The honest trade-off: tamales are a project, not a weeknight dinner. They reward a group and a large batch, because the assembly line is the same whether you make a dozen or five dozen. If you want the flavor without the afternoon, braise the filling and serve it over rice or in a tortilla — the filling technique is the part that carries the flavor, and the masa is the delivery system.
Chile-based sauces are built in stages, and the stages matter
A good chile sauce — the kind that becomes salsa, adobo, or the backbone of a mole — is built in a fixed sequence: toast the dried chiles, soak them, blend with aromatics and something acidic or sweet, then fry the purée in hot fat. Skipping the last step is the single most common shortcut that costs you flavor; the raw purée tastes flat and slightly bitter, and a few minutes in hot oil blooms it into something rounder and deeper.
Toasting is the step that punishes inattention. Dried chiles go from fragrant to acrid in seconds — you want them pliable and smelling nutty, not darkened, and you should press them flat against the pan so they toast evenly. Blackened spots on a chile pass straight through to the sauce as bitterness. Soaking in hot water softens them for blending; save some of the soaking liquid to adjust consistency rather than adding plain water, which dilutes the flavor you just built.
The trade-off here is that a from-scratch chile sauce takes more steps than opening a jar, and the difference is real but not infinite. For a weeknight salsa, a blender and fresh ingredients will get you most of the way. For adobo or a sauce that's going to braise meat for hours, the toasted-and-fried version is worth the extra twenty minutes because the flavor has to survive a long cook. Make more than you need and freeze it in small portions; the sauce costs the same effort in a big batch and keeps well.
Ceviche is a refrigeration decision before it is a recipe
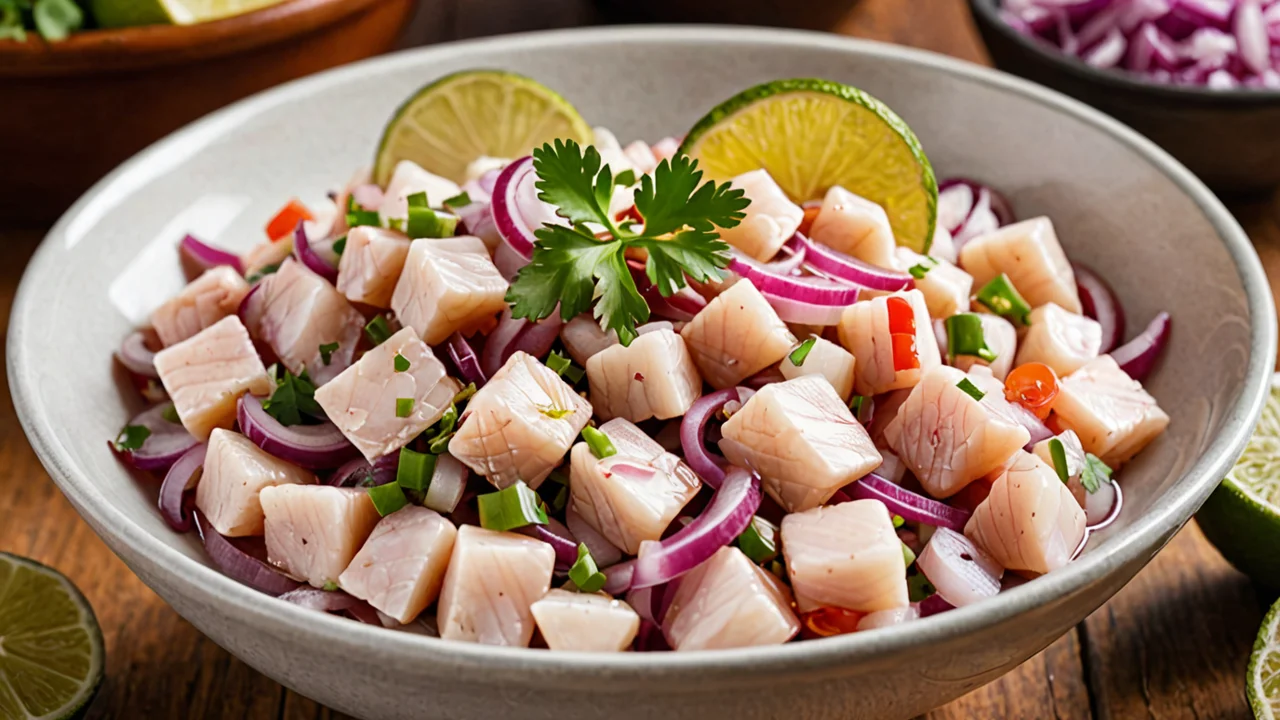
If you are making ceviche from raw fish, the safety step comes before the lime juice: freeze the fish to destroy parasites. The requirement is -4 °F (-20 °C) or below for at least 7 days (168 hours), or -31 °F (-35 °C) until solid and then held at -31 °F (-35 °C) for at least 15 hours, or frozen at -31 °F (-35 °C) until solid and then held at -4 °F (-20 °C) for at least 24 hours. A standard home freezer usually sits around 0 °F, which clears the first threshold — but you need to know your freezer's actual temperature and hold the fish for the full week, not a day.
This is the constraint most people don't plan for, and it's why ceviche is often a dish you decide to make a week in advance. Buy fish labeled as previously frozen and suitable for raw consumption and you can skip the wait, provided you trust the labeling. Buy fresh fish at the counter and you're committing your freezer for a week before you can serve it.
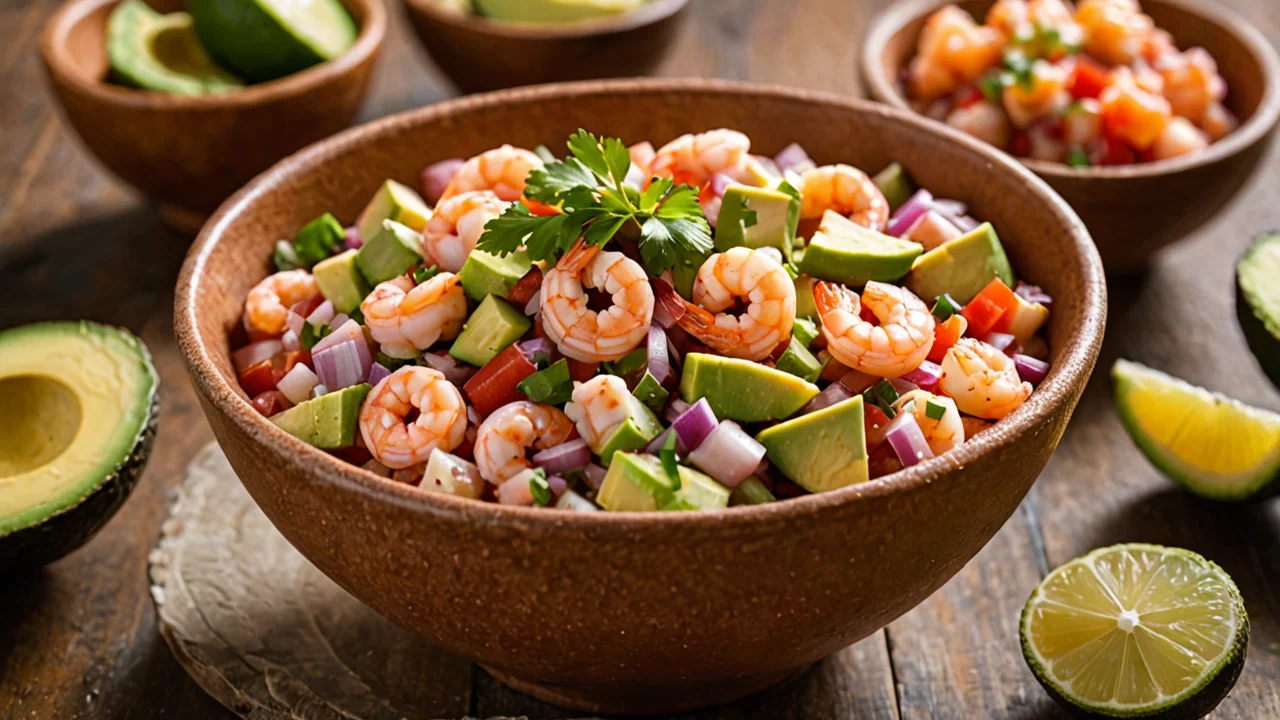
The rest of the method is fast: cut the fish into even pieces so the acid works uniformly, keep everything cold, and add the citrus close to serving. Lime juice "cooks" the exterior while the center stays translucent — that contrast is the point, and letting it sit too long turns the fish opaque and chalky throughout. The cost of treating ceviche as a last-minute dish is either a safety risk or a texture problem, and neither is fixable at the table.
Braise, then use the braise for everything
A slow-braised meat filling — pork shoulder, beef chuck, chicken thighs — is the highest-leverage thing you can make in this repertoire, because the same pot becomes taco filling, tamale filling, arepa filling, and a sauce-soaked topping for rice. The technique is consistent across proteins: season, sear hard for color, build a chile or tomato base in the same pot, add liquid, cover, and cook low until the meat shreds under a fork.
The decisions that matter are cut and temperature, not recipe. Shoulder and chuck have enough connective tissue to stay moist through a long cook; lean cuts turn stringy and dry. Cook low enough that the liquid simmers rather than boils — a hard boil tightens muscle fibers and gives you chewy meat no amount of extra time fixes. Shred the meat while it's still warm and return it to the braising liquid so it stays moist; meat shredded cold and left dry is the difference between a good filling and a sad one.
For any filling that will be used in tamales, follow the temperature targets above. If you're cooking ground meat for a filling, 160 °F (71.1 °C); poultry, 165 °F (73.9 °C); whole cuts, 145 °F (62.8 °C). A braise that's been simmering for hours will clear these easily, but check anyway — a large piece of meat can have a cool spot, and the thermometer costs less than a spoiled batch.
The trade-off is time, and it's real: a proper braise is a few hours of mostly unattended cooking. The compensation is that it scales — the same pot that feeds two feeds eight, and the leftovers improve overnight as the meat sits in the sauce. If you only learn one core recipe, learn this one, because it's the filling under half the other dishes.
Beans, rice, and the supporting cast
A pot of beans cooked from dried, with onion, garlic, and a little fat, is the cheapest and most versatile component in the whole repertoire — it's a side, a filling, a base for soup, and the thing that makes a plate of rice into a meal. The decision that matters is whether you salt the cooking liquid early or late; early salting seasons the bean through and does not, despite the old warning, prevent them from softening. Cook them until they crush easily between your fingers, and keep the cooking liquid — it's a stock, and it's better than anything you'd add from a cube.
Rice is the other constant, and the technique varies by tradition more than by difficulty: some versions toast the rice in fat before adding liquid, which keeps the grains separate and adds a nutty flavor; others cook it plain and rely on the sauce for character. Either way, the ratio and the rest matter more than the pot — let it sit covered off the heat before you fluff it, and don't stir it while it cooks.
The trade-off with the supporting cast is that it's easy to treat beans and rice as an afterthought and then wonder why the plate tastes flat. They're not garnish; they're the part that makes the rich, slow-cooked components edible in quantity. Cook them with as much care as the braise and the whole plate improves. Cook them badly and no amount of good salsa rescues dinner.
How to sequence learning this, and what to skip first
Start with the braise and the beans, because they're forgiving, they scale, and they feed you while you practice everything else. Add rice once you've got a pot of beans you're happy with. Then move to masa — a small test batch of tamales, not a holiday-sized one — because masa is the technique with the steepest learning curve and the least tolerance for improvisation. Chile sauces come next, since by then you have braised meat to put them on. Ceviche comes last, not because it's hard but because it requires planning a week ahead, and you'll only do that once the rest of the repertoire is routine.
What to skip first: mole from scratch, banana-leaf tamales if you can't get fresh leaves, and any recipe that calls for a specialty chile you've never tasted. None of them are bad; they're just expensive to get wrong, and you'll learn more from a plain braise you nail than a complex sauce you muddle through.
The through-line is that these recipes share ingredients and techniques, so each one you learn makes the next cheaper in effort. The masa you make for tamales is the same dough logic as tortillas. The chile sauce you build for adobo is the base for a dozen other dishes. The braise fills everything. That overlap is the reason to learn core recipes rather than individual dishes — not because the individual dishes aren't worth cooking, but because once you have the cores, you're not following recipes anymore. You're cooking.